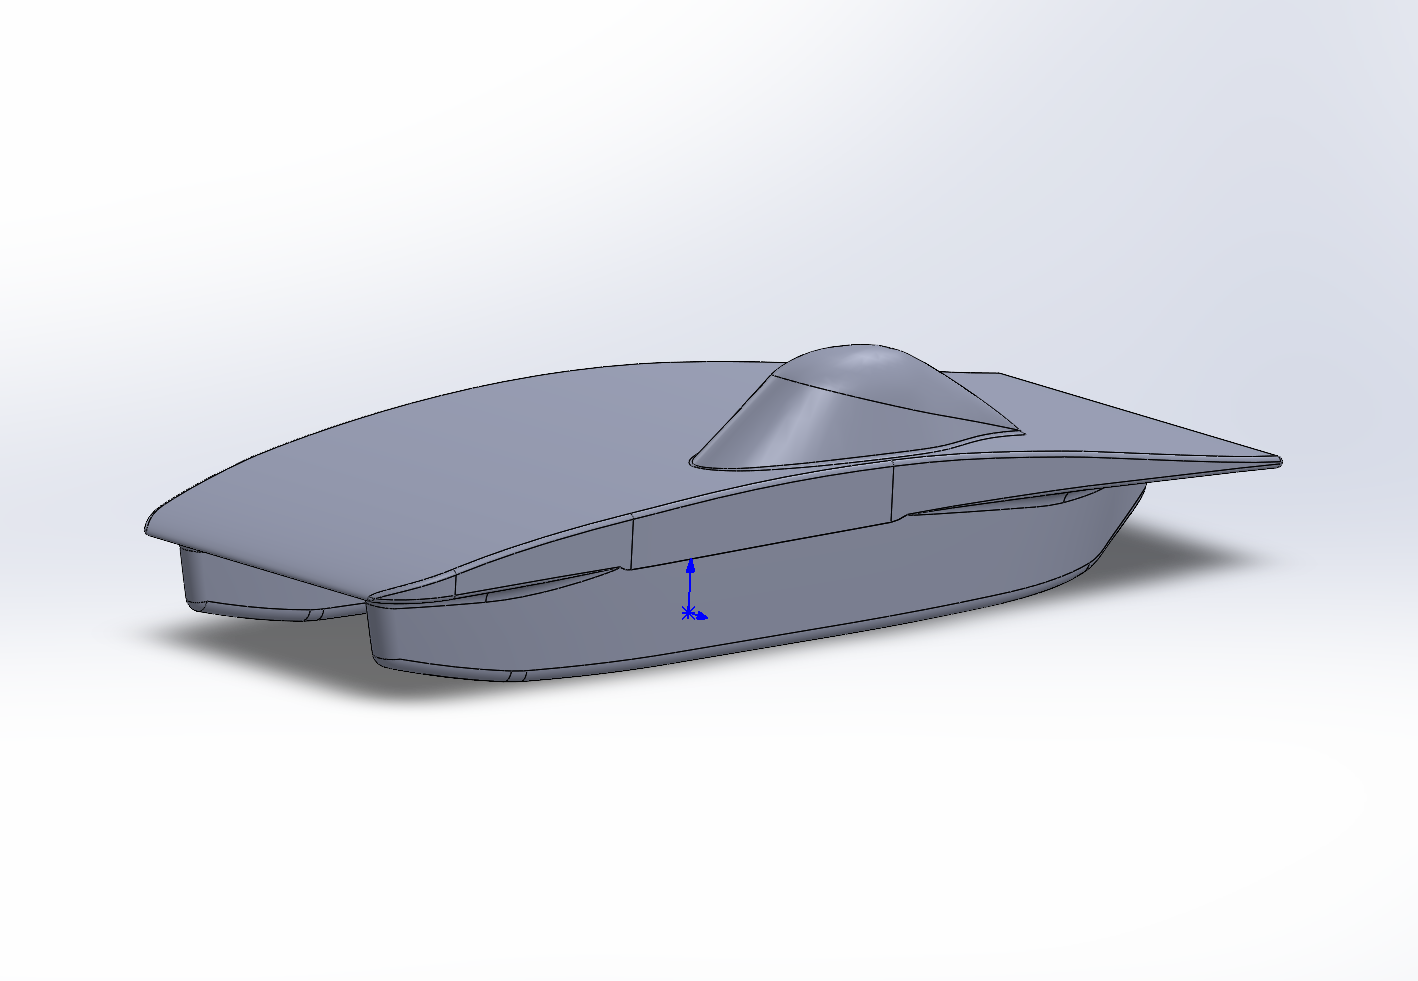
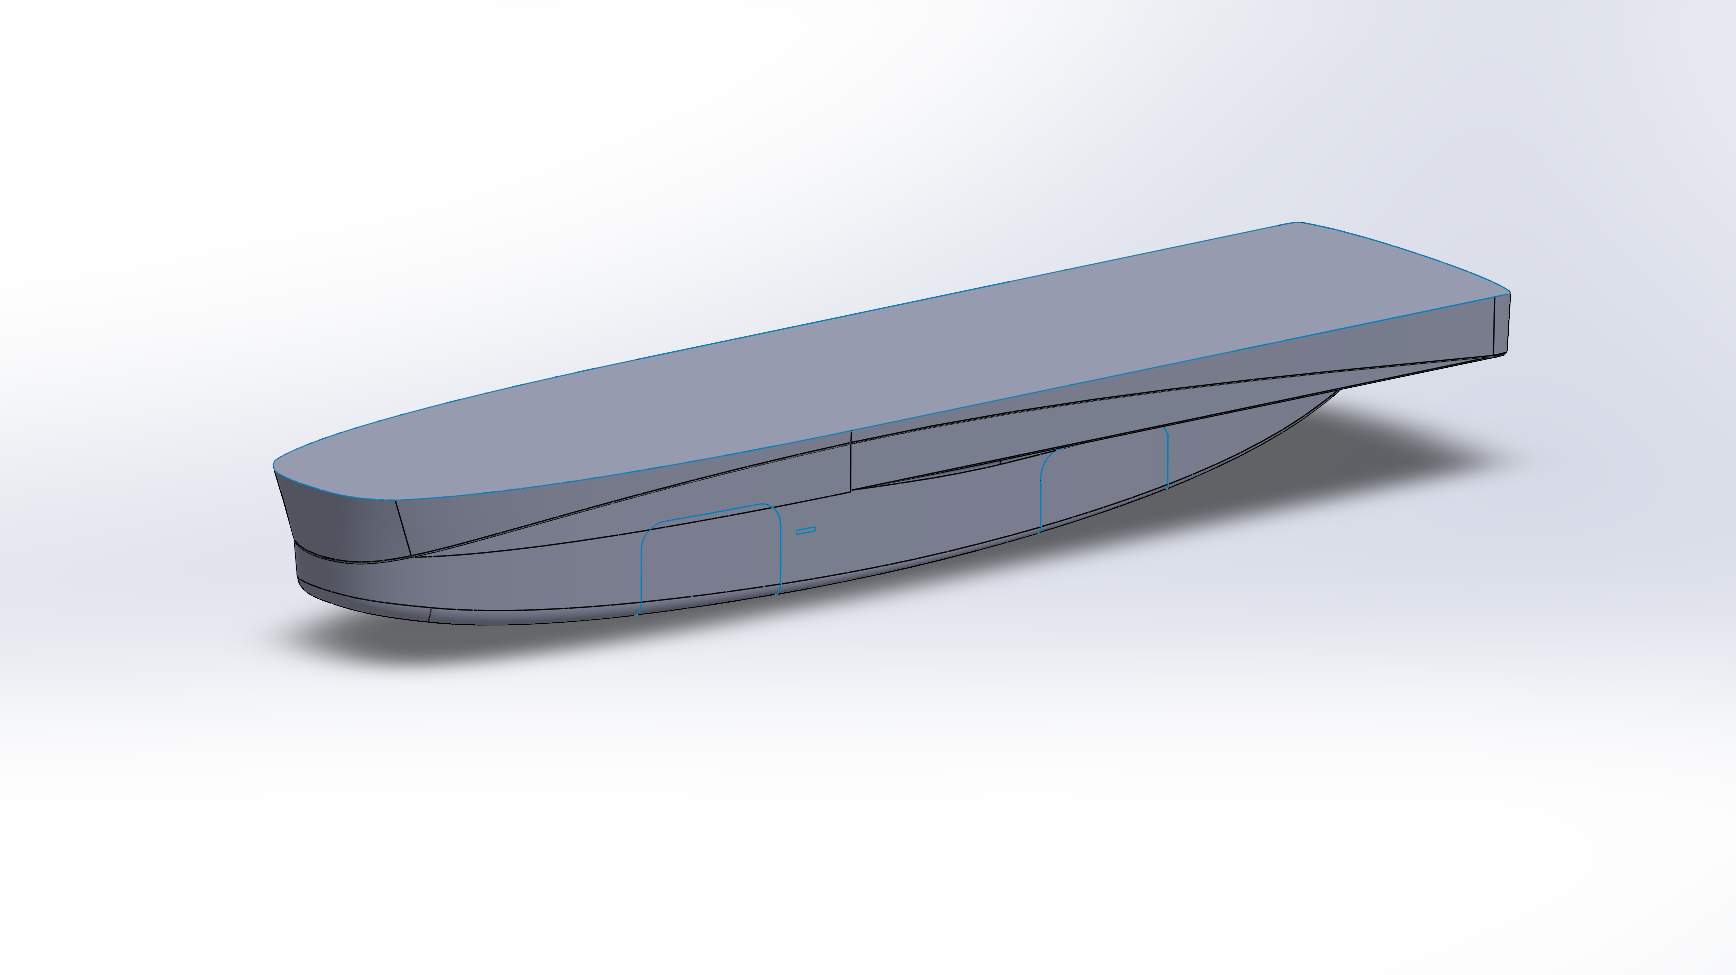
Brightside Practice Plug
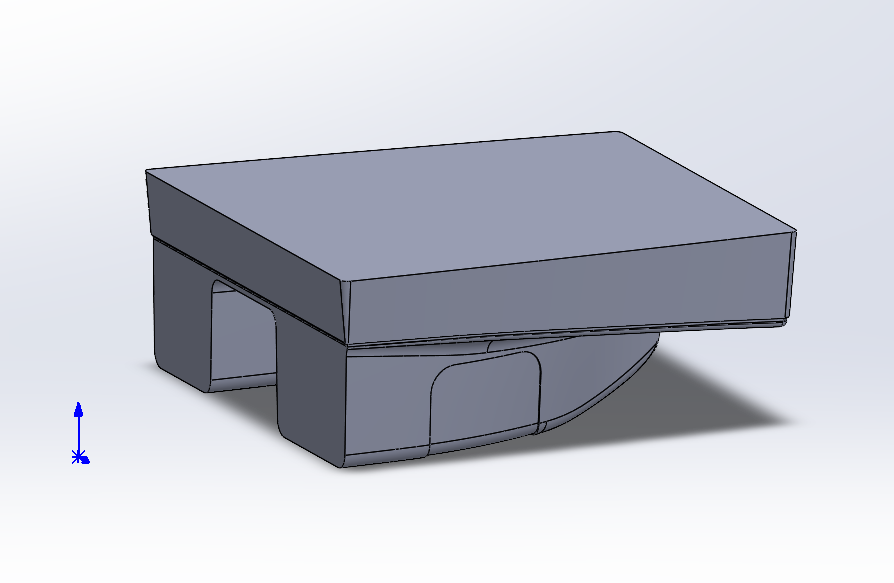
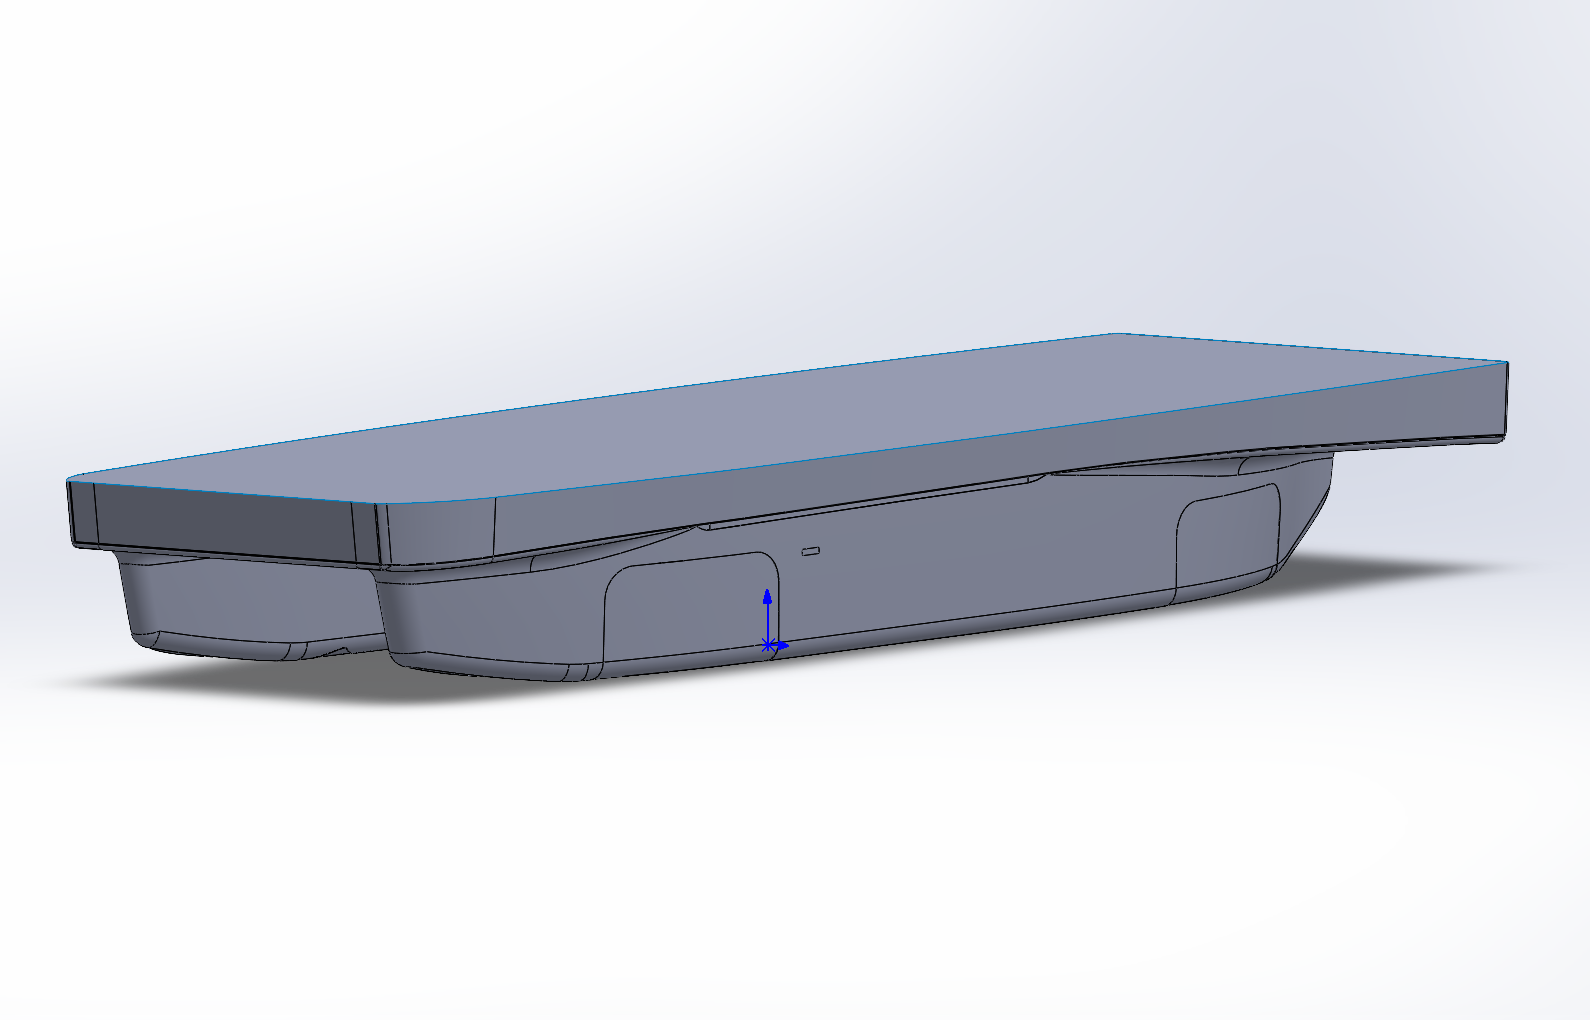
When I first got the projecct, I using our old car (Brightside) to make a practice plug. This was to learn how to use the surfacing tools at hand and create the plug. It took a few weeks to complete the practice plug. The way I achieved this, was by looking at the old car and rolling back CAD features to create the plug.
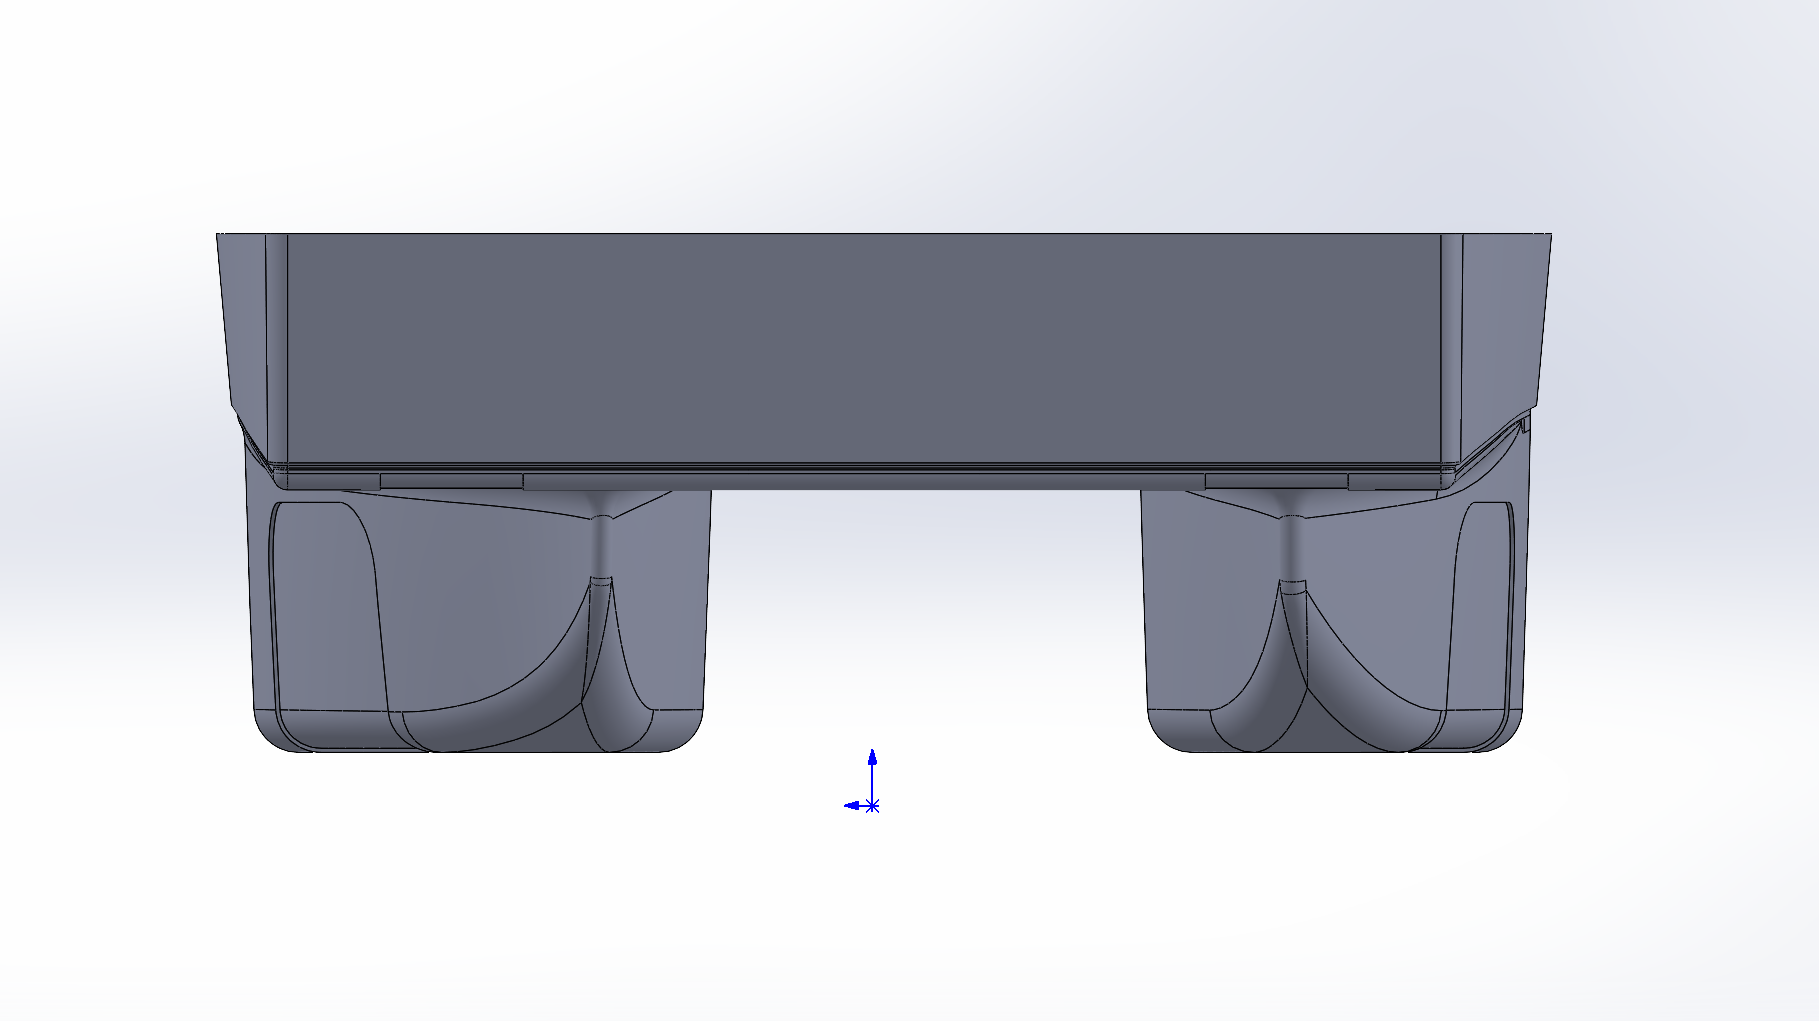
I actually re-created the entire car in CAD before creating the plug. I learned a lot about the process of designing and surfacing airfoils and how to create a clean and accurate plugs. These plugs must be accurate otherwise components designed for the car may not line up as intended.
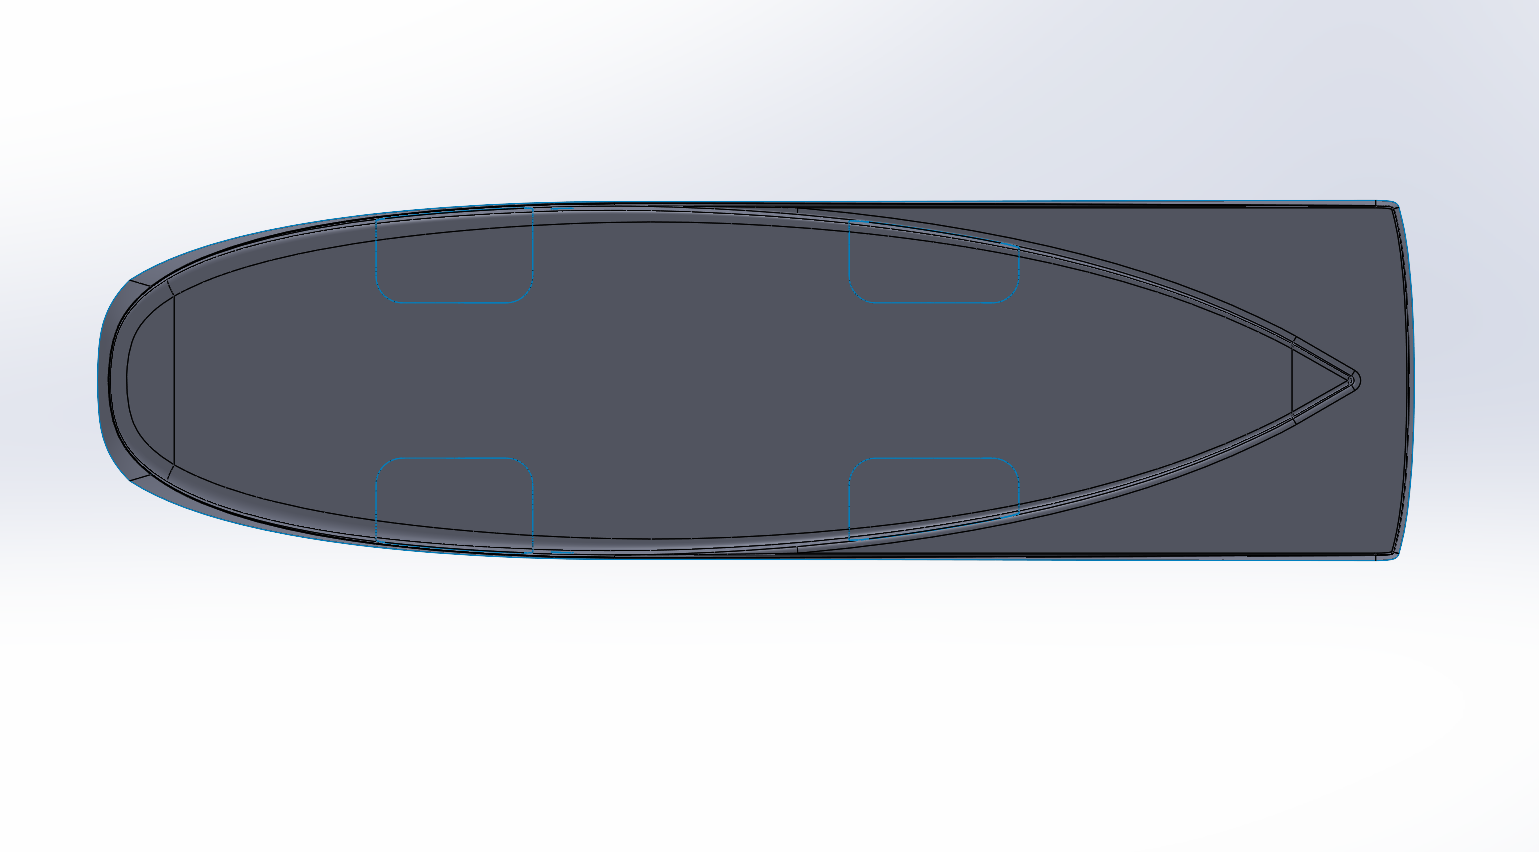
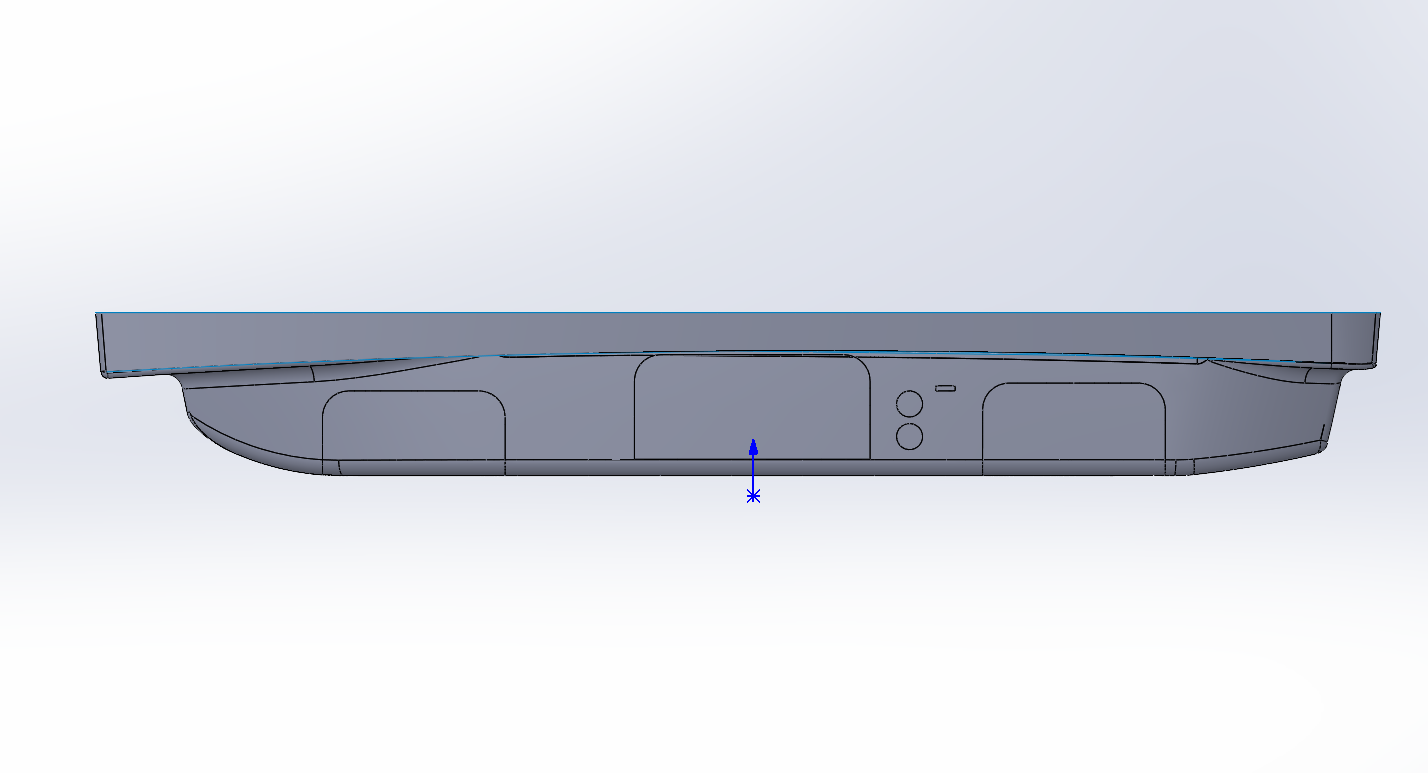
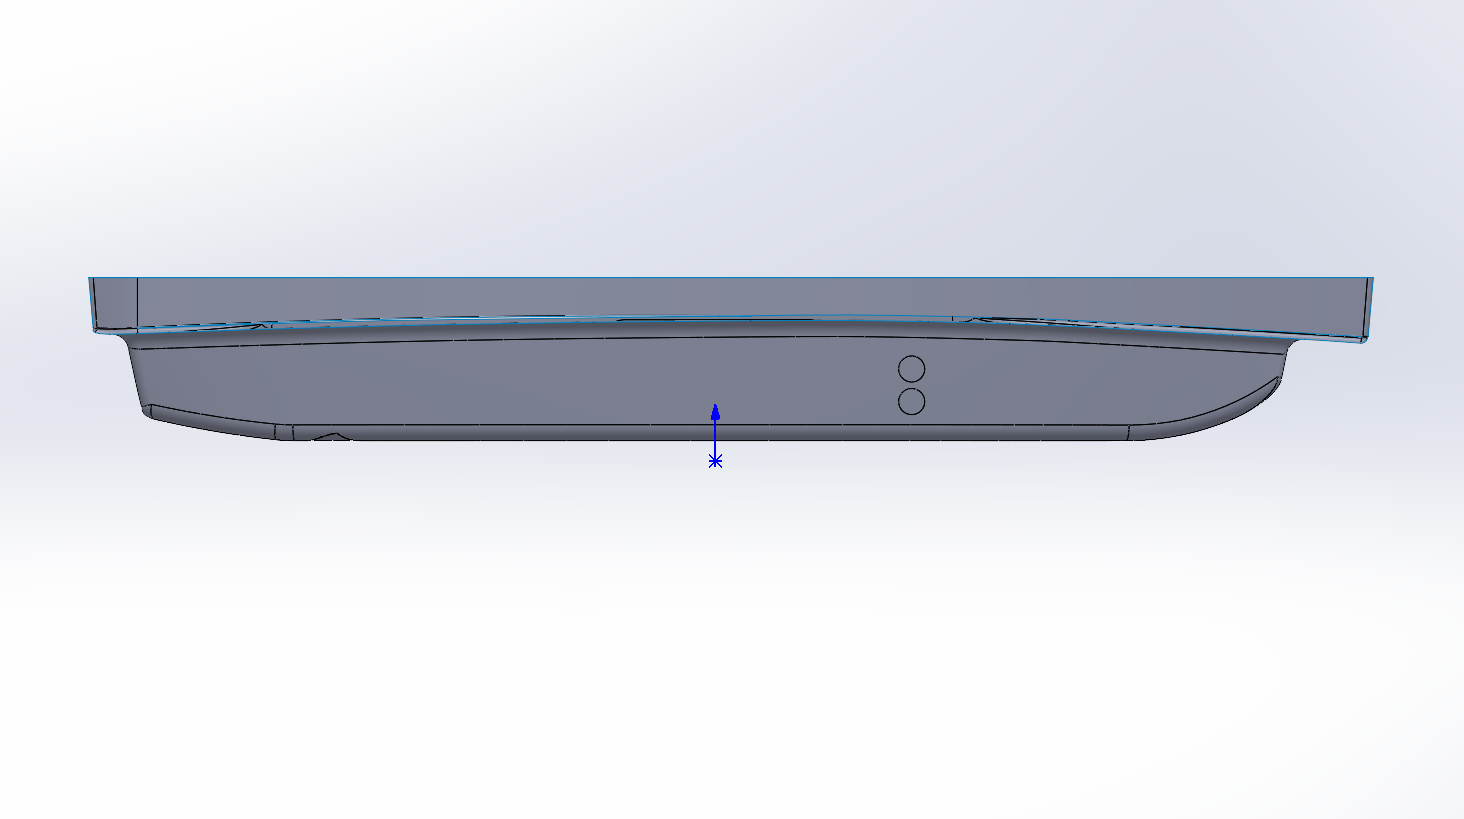
The difficult part about creating the plugs is the indents. Indents are marks that help us know where the features of the bottomshell or topshell should be. The fairing indents are 1.5mm and all the lights are 1mm indents. This will come up as a bump in the fiberglass mold and an indent in the composite layups; which we will then cut a hole out of.